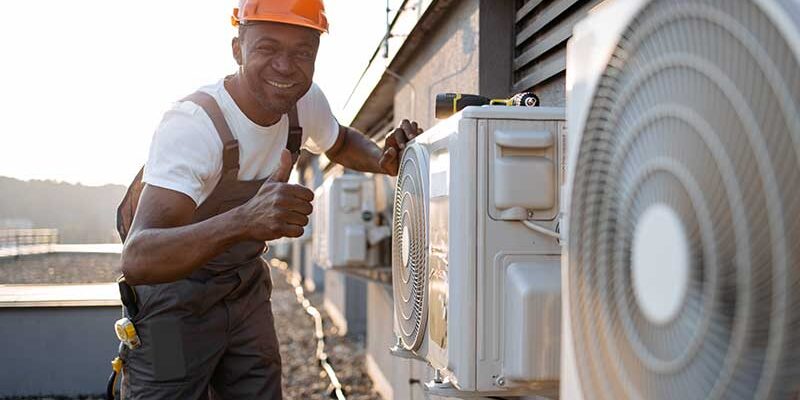
Installing an air conditioning system can considerably improve the comfort of your home, particularly during the warmer months. However, the procedure can be complicated, requiring meticulous organization and execution. Here’s a step-by-step guide on installing an air conditioner, including the essential preparations, tools, and frequent obstacles encountered during the installation procedure.
Step 1: Selecting the Right AC System
Before you even consider installation, you must first select the appropriate air conditioning unit for your room. Consider the size of the area to be cooled, the local climate, and your budget. Consulting with a professional may help you make an informed selection based on the Seasonal Energy Efficiency Ratio (SEER) and the sort of system that will best meet your needs, whether it is a split system, window unit, or central air conditioning.
Step 2: Preinstallation Preparations
After you’ve decided on the best air conditioning system for your needs, the next step is to prepare for installation. This includes:
- Site Survey: A professional installation will often undertake a survey to determine the ideal location for the inside and outdoor units. This positioning has an impact on the air conditioning system’s efficiency.
- Tools and materials: Before beginning, gather all of the tools and materials you will need. A drill, a screwdriver, pliers, a hammer, a level, and, if necessary, a saw are commonly used instruments for AC installation.
- Safety Equipment: Safety should never be compromised. Make sure you have gloves, goggles, and other safety equipment handy.
Step 3: Install the Indoor Unit
The installation of the indoor unit typically entails the following steps:
- Mounting the Bracket: Attach the bracket that will support the indoor unit. To function properly, it must be exactly level.
- Drilling Holes: Create holes for the plumbing, electrical wires, and drainage hose that will connect the inside and outdoor units.
- Connecting Electrical and Refrigeration Lines: Connect the refrigerant lines and electrical wires according to the manufacturer’s specifications.
Step 4: Install the Outdoor Unit
The exterior unit of an air conditioning system is often heavier and requires more room. Steps include:
- Choosing a Location: Make sure the outside unit is installed on a flat, stable area that can withstand its weight. This space should be well-ventilated and kept away from direct sunshine and debris.
- Establishing connections: Connect the electrical and refrigerant lines between the inside and outdoor units. It is critical to keep these connections secure and leak-free.
Step 5: Test the System
After everything has been linked, the system can be tested. This includes:
- Checking for leaks: Use a leak detector to make sure there are no leaks in the refrigerant lines.
- Start the system: Turn on the AC unit to test its operation. Check for any strange noises and ensure that the system is cooling properly.
Common Challenges
During the installation procedure, various obstacles may develop, including:
- Improper Sizing: Installing a unit that is too small or too big for the space can result in inefficiency and higher energy bills.
- Complex electrical requirements: Some projects may necessitate improvements to your home’s electrical infrastructure.
- Refrigerant Handling: Mishandling refrigerant is harmful and should be left to certified personnel.
AC installation is a meticulous operation that necessitates accuracy and skill. Although a qualified DIY enthusiast may install various types of air conditioning systems, employing a professional is frequently suggested to ensure system performance and safety. Regular maintenance following installation will help keep your air conditioner functioning efficiently for years, providing a nice and cool environment in your house.


